How Temporary Tarp A Flat Roof

7 Steps To Temporarily Patch Your Roof With A Tarp Roof Emergency Roof Repair Roof Patch Roof Repair

Install A Blue Tarp On A Roof Diy In A Hour
Why Roof Tarps Don T Work Perkins Roofing

How To Tarp A Flat Roof Canopiesandtarps Com
How To Temporarily Cover A Roof

Utarpit Flat Roof Installation Youtube
Installing tarp on a roof without nails.
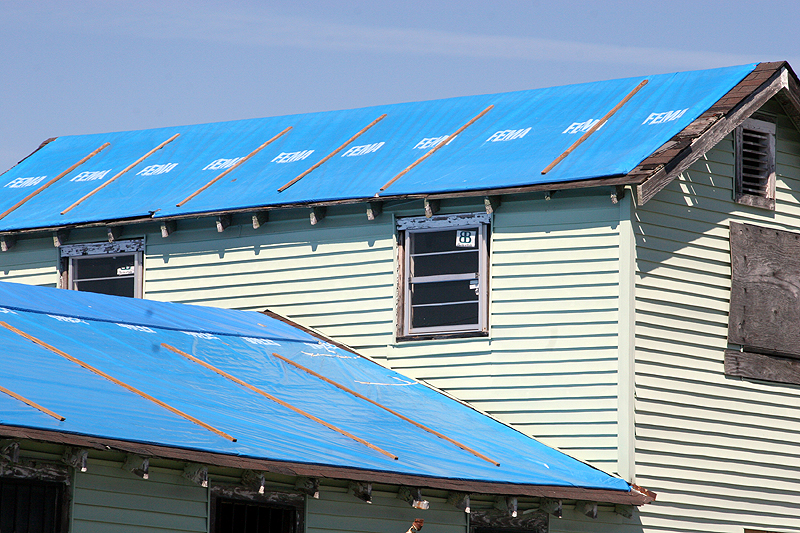
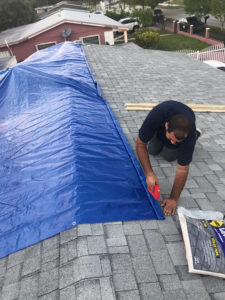
How temporary tarp a flat roof. Steps to install a temporary tarp to repair your roof. Bring all of your tools up to the roof. Positions several 1 2 pieces of lumber on the tarp running vertically down the slope of the roof. Wrap the tarp around the 2 by 4 at least twice.
Then fold the excess tarp under a few rotations for a tight clean fit. Let the rest of the tarp hang off the lower border of the roof that overhangs the wall known as the eave. Here are the steps on how to install a tarp on your roof without nails. For instance if the damage is to a building with multiple stories it will.
Extend the top edge of the tarp over the roof. These puddles are accidents waiting to happen especially if you have elderly people and children in your home. Water also has a way of puddling on flat surfaces especially the floor. Attach the 1x2s through the tarp and into the roof decking with eight penny nails about every 16 inches.
If needed cut off the excess tarp from the other end leaving about a 4 overhang. The 2 by 4 should be about 2 feet longer than the tarp width. Wrap the end of side a over a 2 by 4 that is 2 feet wider than the distance between sides b and d. This will keep you dry until you can fix the issue or have a professional team make repairs.
Wrap the tarp. This guide details how to tarp a roof in a simple affordable way. This will hold the tarp tight to the roof and keep the water out. Sandwich the tarp.
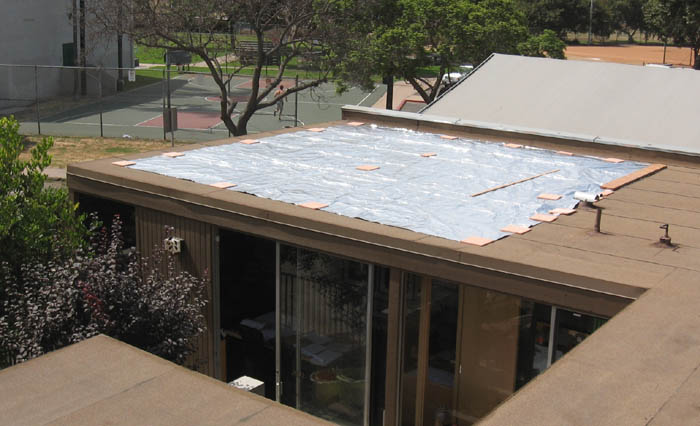
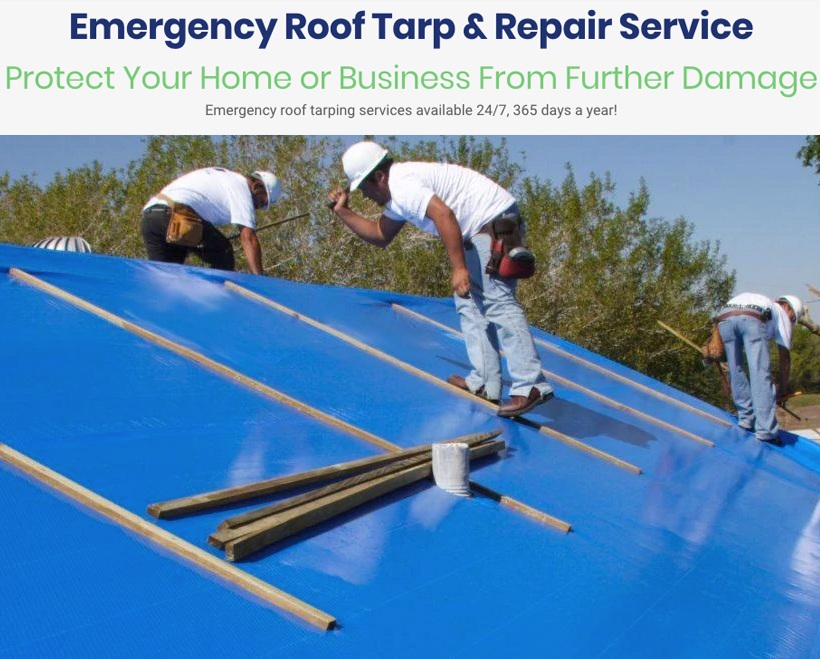
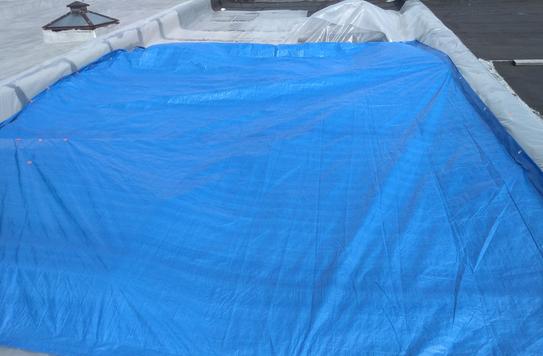
Lay the tarp out flat over the roof. Here are the steps to installing a temporary tarp to patch up your roof. How convenient it is to access your roof. Never lay the tarp out during a storm.
Tarping a roof will temporarily stop leaks and protect your home from the elements. Screw the 2 by 4 directly into the roof to secure it. Stretch a tarp flat on the roof. Now let s get to the good stuff.
Find the source of the leak. You need to know first which spot on the roof needs tarping up. It s even easier if you do it without nails. Lay the tarp across the roof so that at least 4 feet 1 2 m lies on the sloped part of your roof on each side known as the peak.
Lay more 2 by 4s on either side of the tarp and attach those as well for a tight well secured water barrier. Extend the top edge of the tarp over the ridge of the roof. Center the tarp over the damaged area. When installed correctly roof tarps can shield you home from bad weather for up to 90 days.
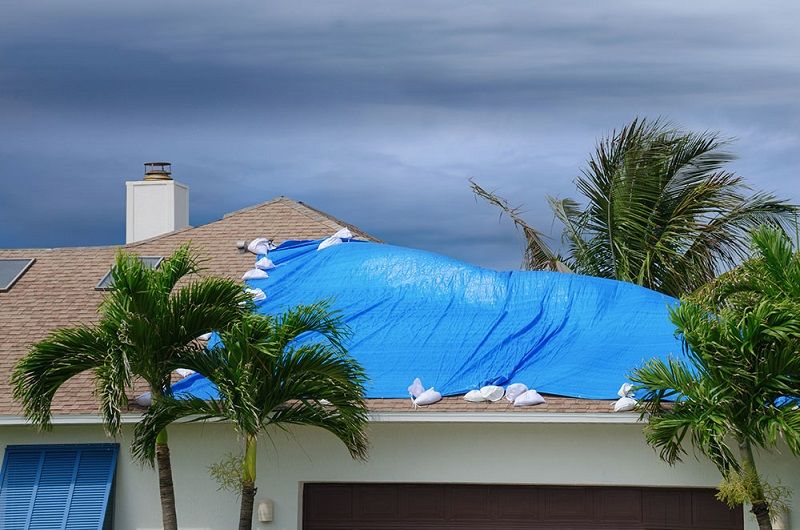
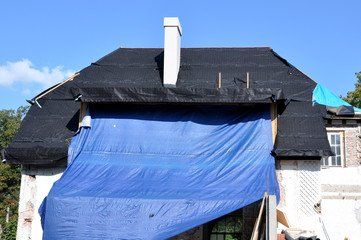
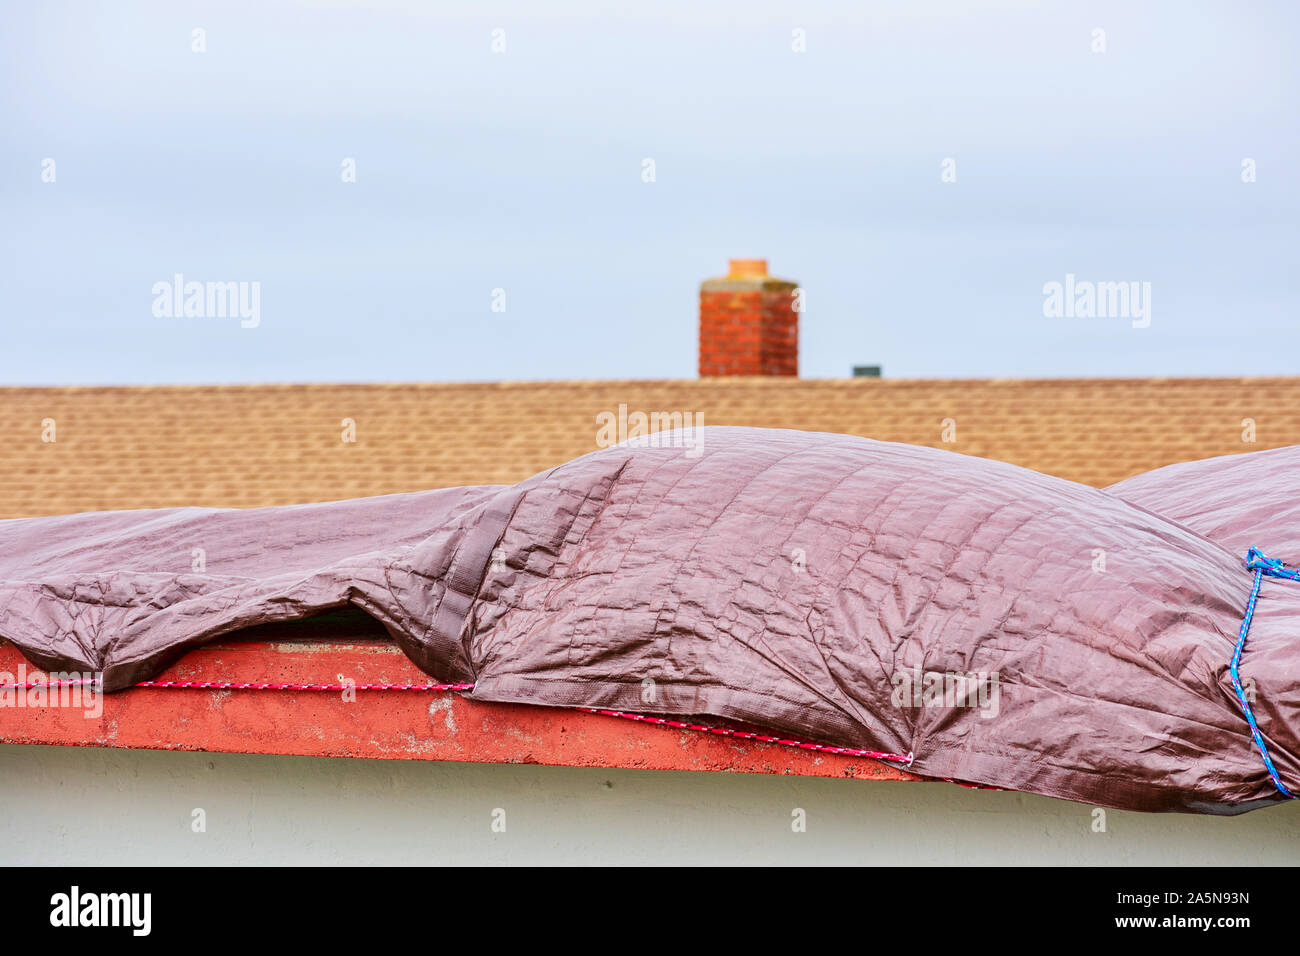
A tarp placed over a flat leaking roof can protect the interior of your home from further water damage.
How To Put A Temporary Tarp On A Leaking Roof Cost Quotes

How To Cover Your Roof After Storm Damage Hunker

How To Conduct A Temporary Emergency Roof Repair Davis Contracting
Roof Tarp Total Care Restoration

Temporary Roofing Qa Instruction Section 7 Roofing Quality Assurance Youtube
Emergency Roof Tarp Hurricane Damage Repair Belacris Construction And Roofing
How To Tarp A Roof For Temporary Roof Repair

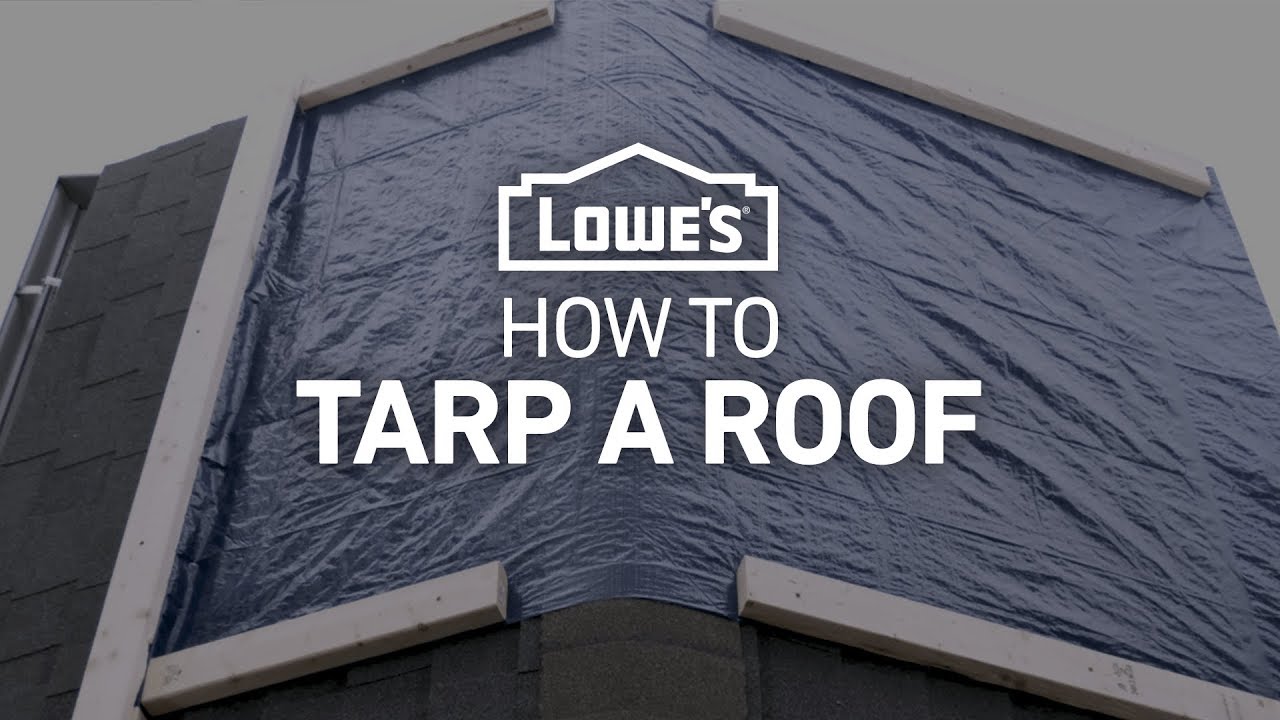
How To Tarp A Roof The Home Depot

Emergency Roofing How Long A Tarp Should Last For You

What You Need To Do When Your Flat Roof Is Leaking
Solareflex And Snow White Cooltarps For Cool Roofs
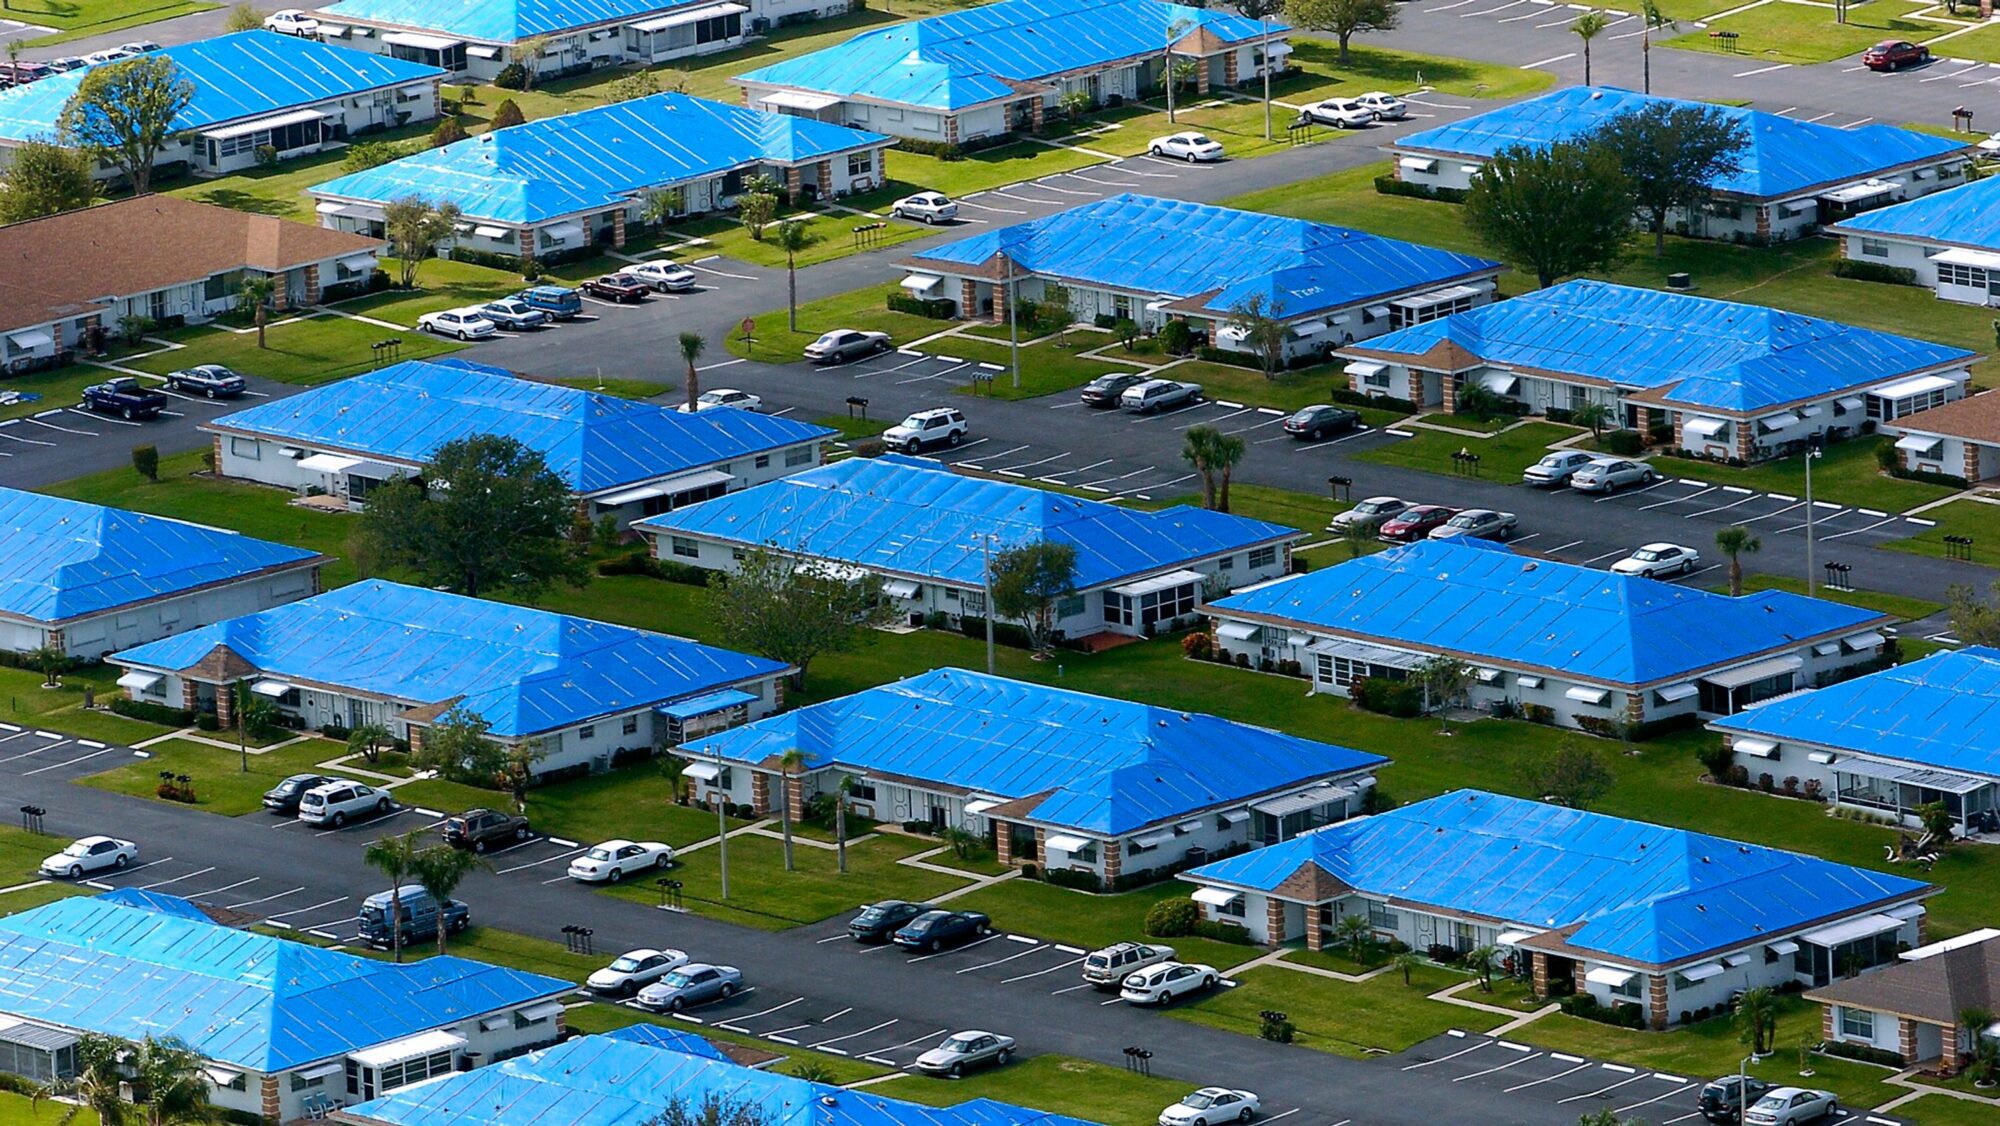
Blue Roof Recommendations From Osha Ehs Daily Advisor

Emergency Roof Repair Procedures That Saves Money

How To Temporarily Cover Your Roof When It Leaks Using A Tarp Youtube

Utarpit Self Adhesive Roofing Tarp For Pros The Home Depot Youtube
How To Tarp A Roof Severe Weather Guide Youtube

How To Make A Temporary Emergency Roof Repair

Emergency Roof Tarp Hurricane Damage Repair Rhyne Restoration
Https Encrypted Tbn0 Gstatic Com Images Q Tbn 3aand9gcqhb7ffttswzcd5bnmttwzlb2ltnhgsraaqv1abzyggrzzoka9a Usqp Cau

How To Temporarily Patch A Leaky Roof With A Tarp

Osha S Hazard Exposure And Risk Assessment Matrix For Hurricane Response And Recovery Work Roof Inspection Tarping Repair And Replacement

Higgins Clarifies Timeline Of Operation Blue Roof Explains Process To Have Tarps Provided And Installed Congressman Clay Higgins
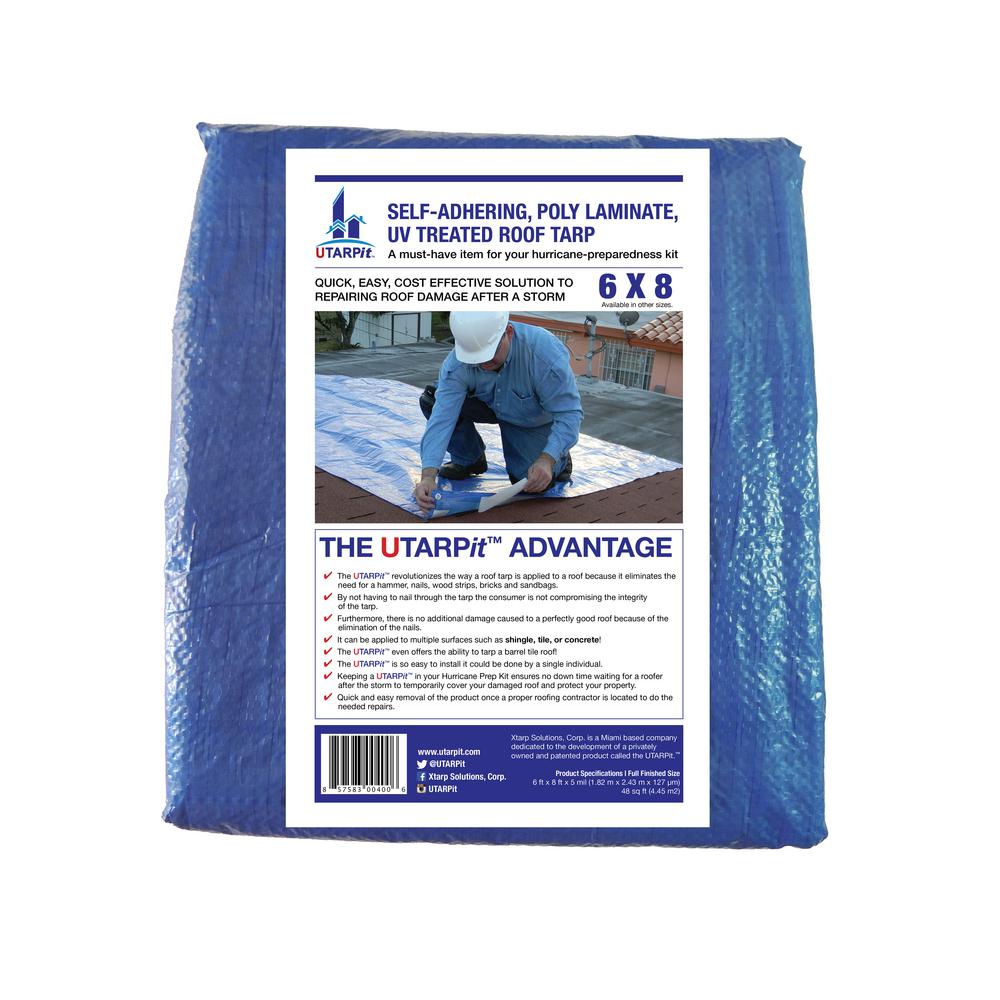
Utarpit 6 Ft X 8 Ft Blue Roofing Tarp Bt0608 The Home Depot

Protect My Roof While I Am Waiting For Repairs Fix My Roof
Waterproof Tarp Roof Cover On Flat Leaking Damaged Roof As An Emergency Temporary House Protection To Save A Building From Further Rain Damage Stock Photo Alamy

Repairing Window Trim Mdf And Drywall Emergency Roof Repair Roof Leak Repair Roof Repair

Tarpaulin Roof Images Stock Photos Vectors Shutterstock

Uncategorized Brady Roofing

Temporary Roof Cover Repair 2yamaha Com

Tarp And Pvc Canopy Lean To Workspace Outdoor Shade Canopy Outdoor Pvc Canopy
Utarpit 20 Ft X 25 Ft Blue Roofing Tarp Bt2025 At The Home Depot Mobile

Customer Photo Gallery Creative Shelters Backyard Shade Outdoor Shade Shade Tent

Heavy Duty Waterproof Roof Tarps Tarp Factory

Tarp Roof High Resolution Stock Photography And Images Alamy

How To Temporarily Cover Your Roof When It Leaks Using A Tarp Youtube Emergency Roof Repair Roof Repair Roof

When Is A Leak An Emergency Frazier Roofing Guttering Co Inc

The Repair Process May Be Necessary For Existing Roofing Where New Modifications Are Made Or Dam Residential Roofing Flat Roof Replacement Roofing Contractors
Utp3ttjbmq7sym

Gaf Pro Series Leak Barrier Basic Install Youtube Drip Edge Fibreglass Roof Roof Panels

How To Tarp A Roof Youtube

Emergency Roofing Repair Roof Repair Diy Roof Patch Diy Home Repair

Pin On Roofing

